
About Those Glasses
Many portrait photographers know that when you place a strong light to illuminate your subject’s eyes, there will often be glare. Many choose to just shoot without the glasses. While that does eliminate the problem, it can cause the photos to misrepresent someone whose glasses are iconic to their persona.
As no great surprise, the reflection of any of the lights will come into a photo when your subject’s glasses bounce it to the camera. Any glasses can be worn in photos without the need to remove, but care will need to be taken. The type of glasses and lenses will determine how much correction you would need to apply.
Coatings: Glasses with anti-glare coatings may improve the visibility through the reflection, but never eliminate it. This coating will also almost always tint the reflection to another color which can even become more distracting. It’s there to keep glare from reaching the wearer, not the other way around.
Shape: Lenses that are more convex will pick up reflections from a wider area, but with the trade-off that reflected objects will appear smaller. Likewise, glasses that wrap around the face any amount will also create a convex effect.

So how do we eliminate reflections from glasses? We will cover two techniques that are simple in concept, but would benefit from a good amount of practice.
Method one: lower head, raise light
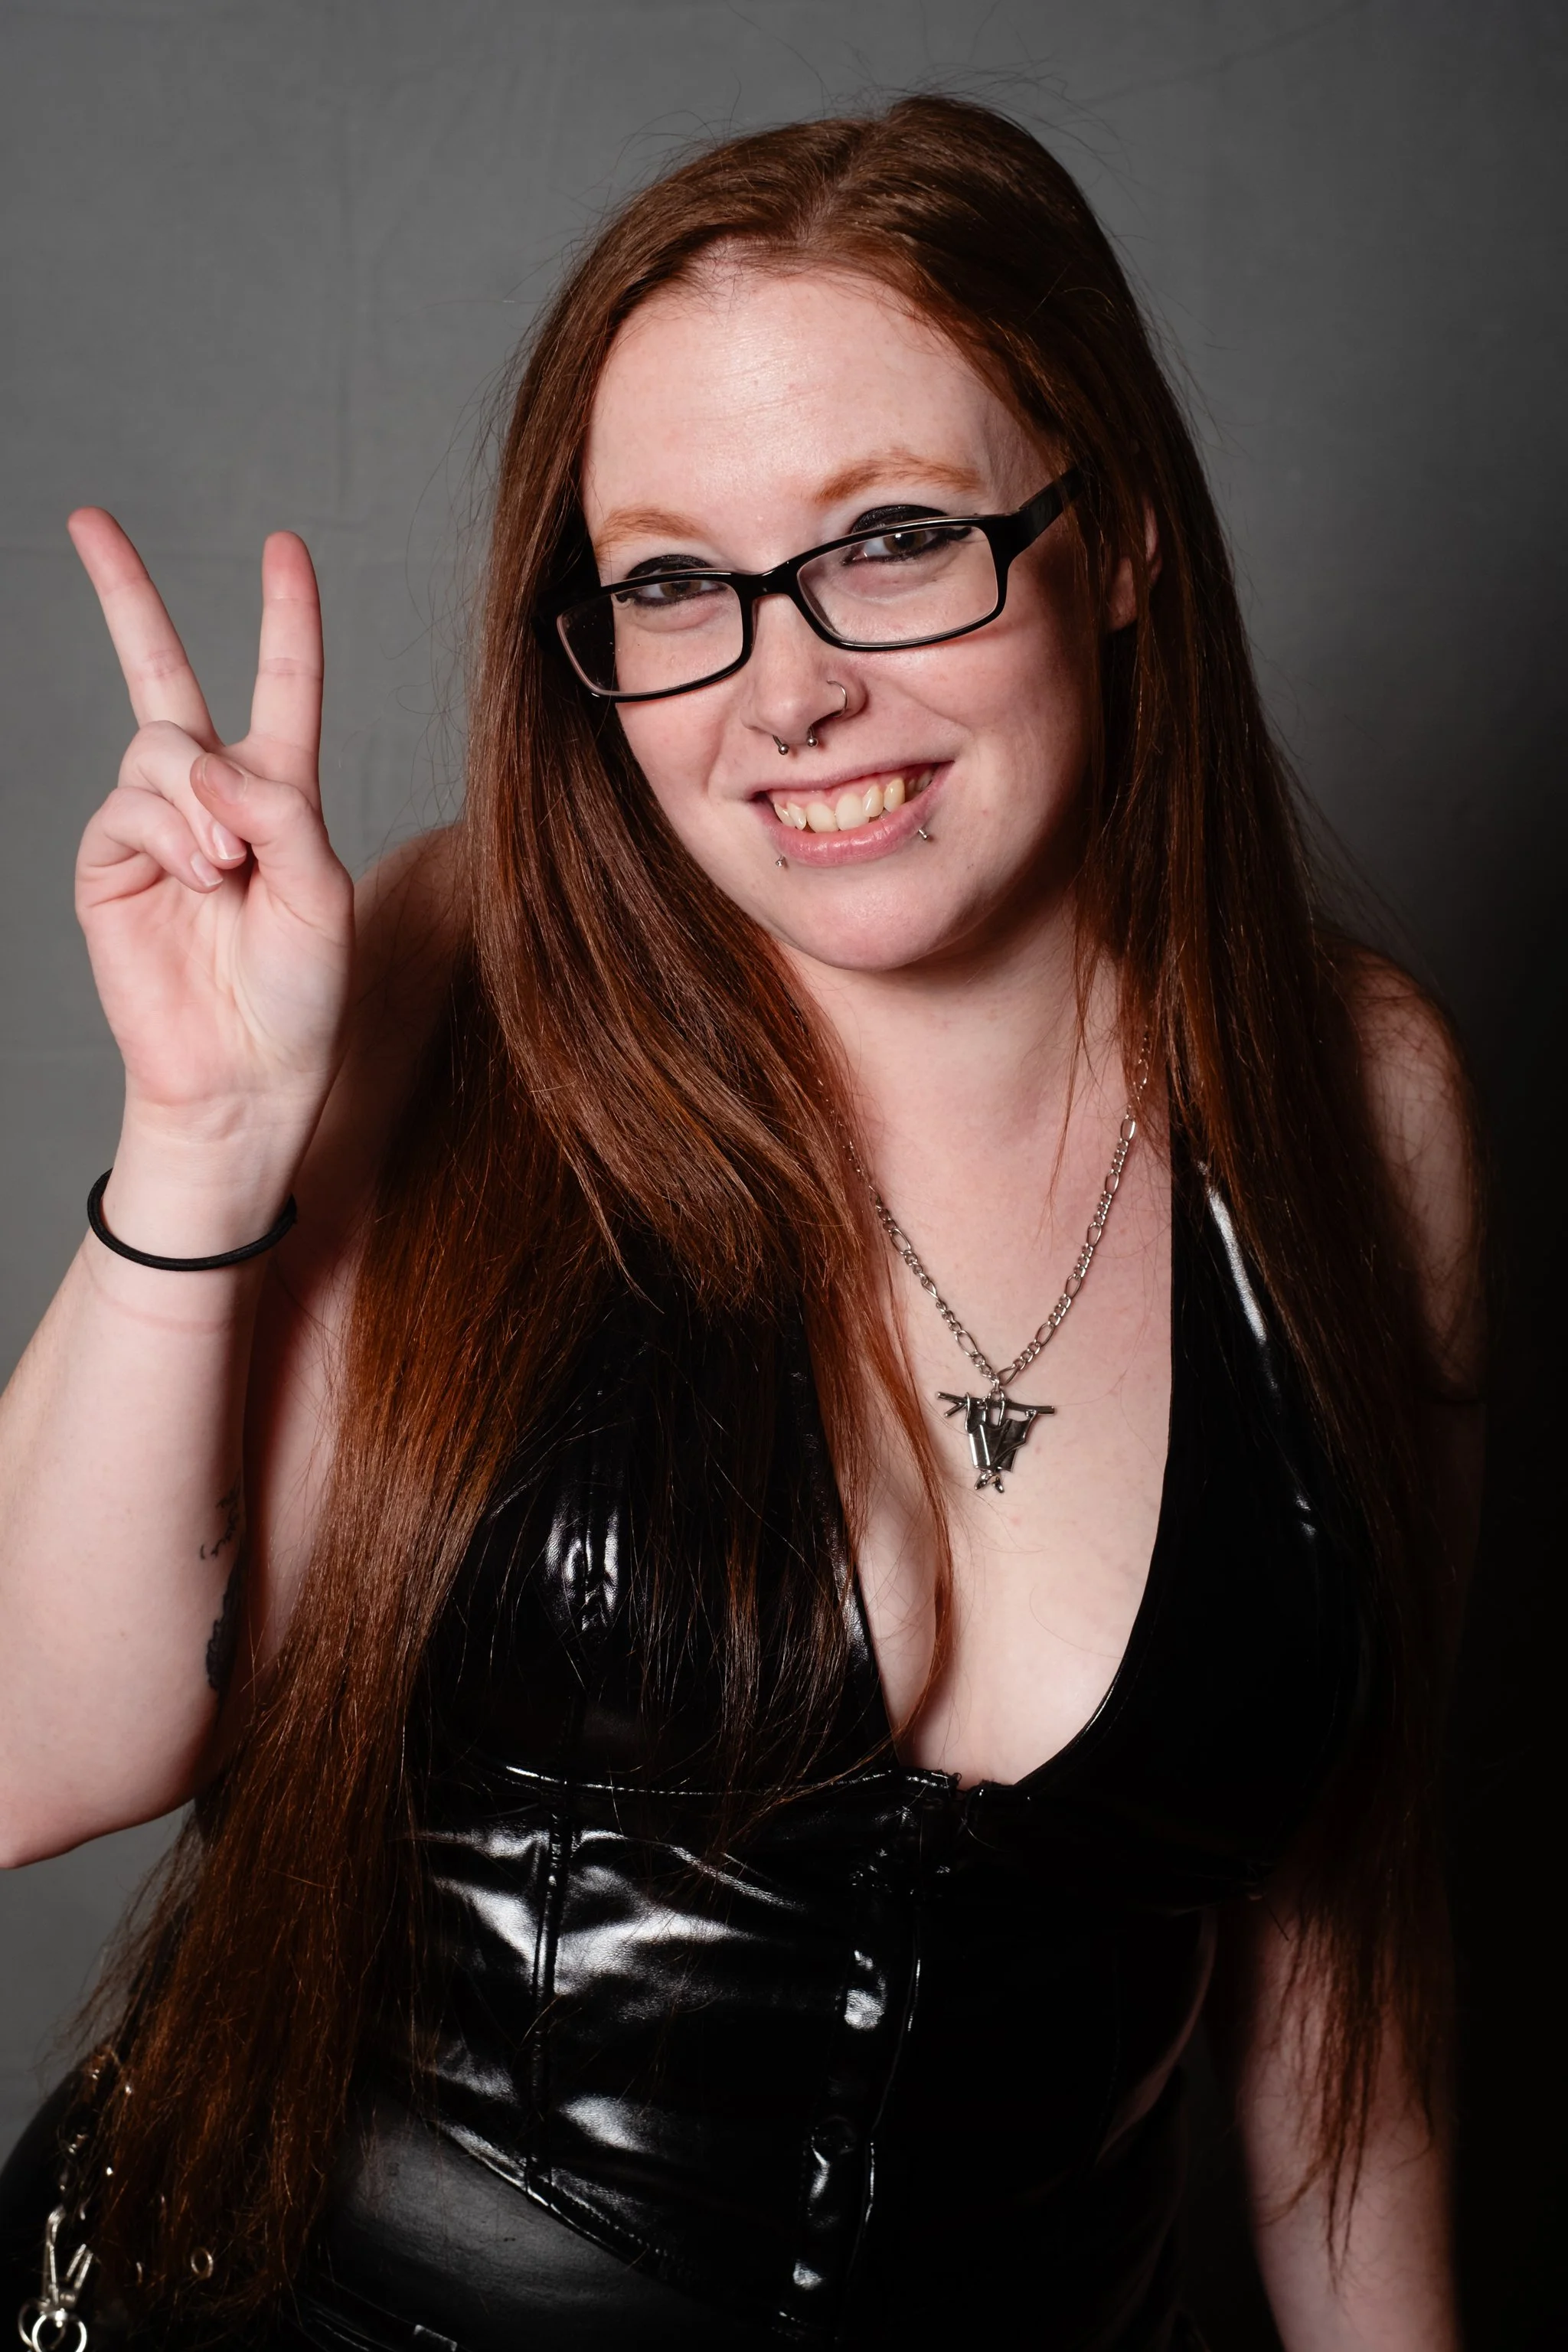
When your subject angles their head slightly down, the glasses will follow. The bulk of the area being reflected at the camera would be the floor and other areas below the lights. If there is still glare, you can raise your light(s) until you get the desired result. You probably won’t want to have your subject angle too far down, but following the delicate balance gets easier with practice. Do watch out for the shadows cast by the rim of the glasses, this can be mitigated by using a sufficient softbox. Always watch the eyes, not just for the reflections but also for making sure that you still have good light illuminating them.
Method two: turn to side

Just like with the first method, this method has your subject move their face opposite to the light, relative to the camera. This method comes with a different set of challenges though. The one big difficulty is that you will end up lighting your subject from the side, and that doesn’t always work well for people. Don’t neglect to consider your subject’s posing, and make sure the lighting complements them. If you use a fill light or reflector to compensate for strong side lighting, keep in mind that you may introduce reflections from your fill, since the subjects glasses will be aimed that way. Consider having your fill light be directly next to or slightly behind your subject, and letting shadows be dramatic.

The bottom line?
As with most things in photography, there is no one-size-fits-all solution to this problem. Learn to see the issues, and use the tools you’ve learned and practiced to make excellent photos. You can combine both of these methods, or even come up with something else that gets results. And if you end up with some reflection, determine whether it’s even a problem. Sometimes little imperfections help tell the story. You want your subject to not feel awkward with too many microadjustments, and you also want your subject to walk away feeling good about themselves and their style.